David Granjon
Principal Scientist and Consultant, Novartis
-
Package development
shinyMobile, bs4Dash, ... RinteRfaceSupport Clinical Projects
Develop Shiny apps for exploratory analysisInternal Consulting
-
Want to show your super powers?
We are recruiting! Apply here


Mustapha Larbaoui
Associate Director, SCC, Novartis
-
Software Engineering (R/Shiny, Java, Web development) / Data Science / Life Science

Shiny or not Shiny?
Shiny or not Shiny?
Shiny or not Shiny?
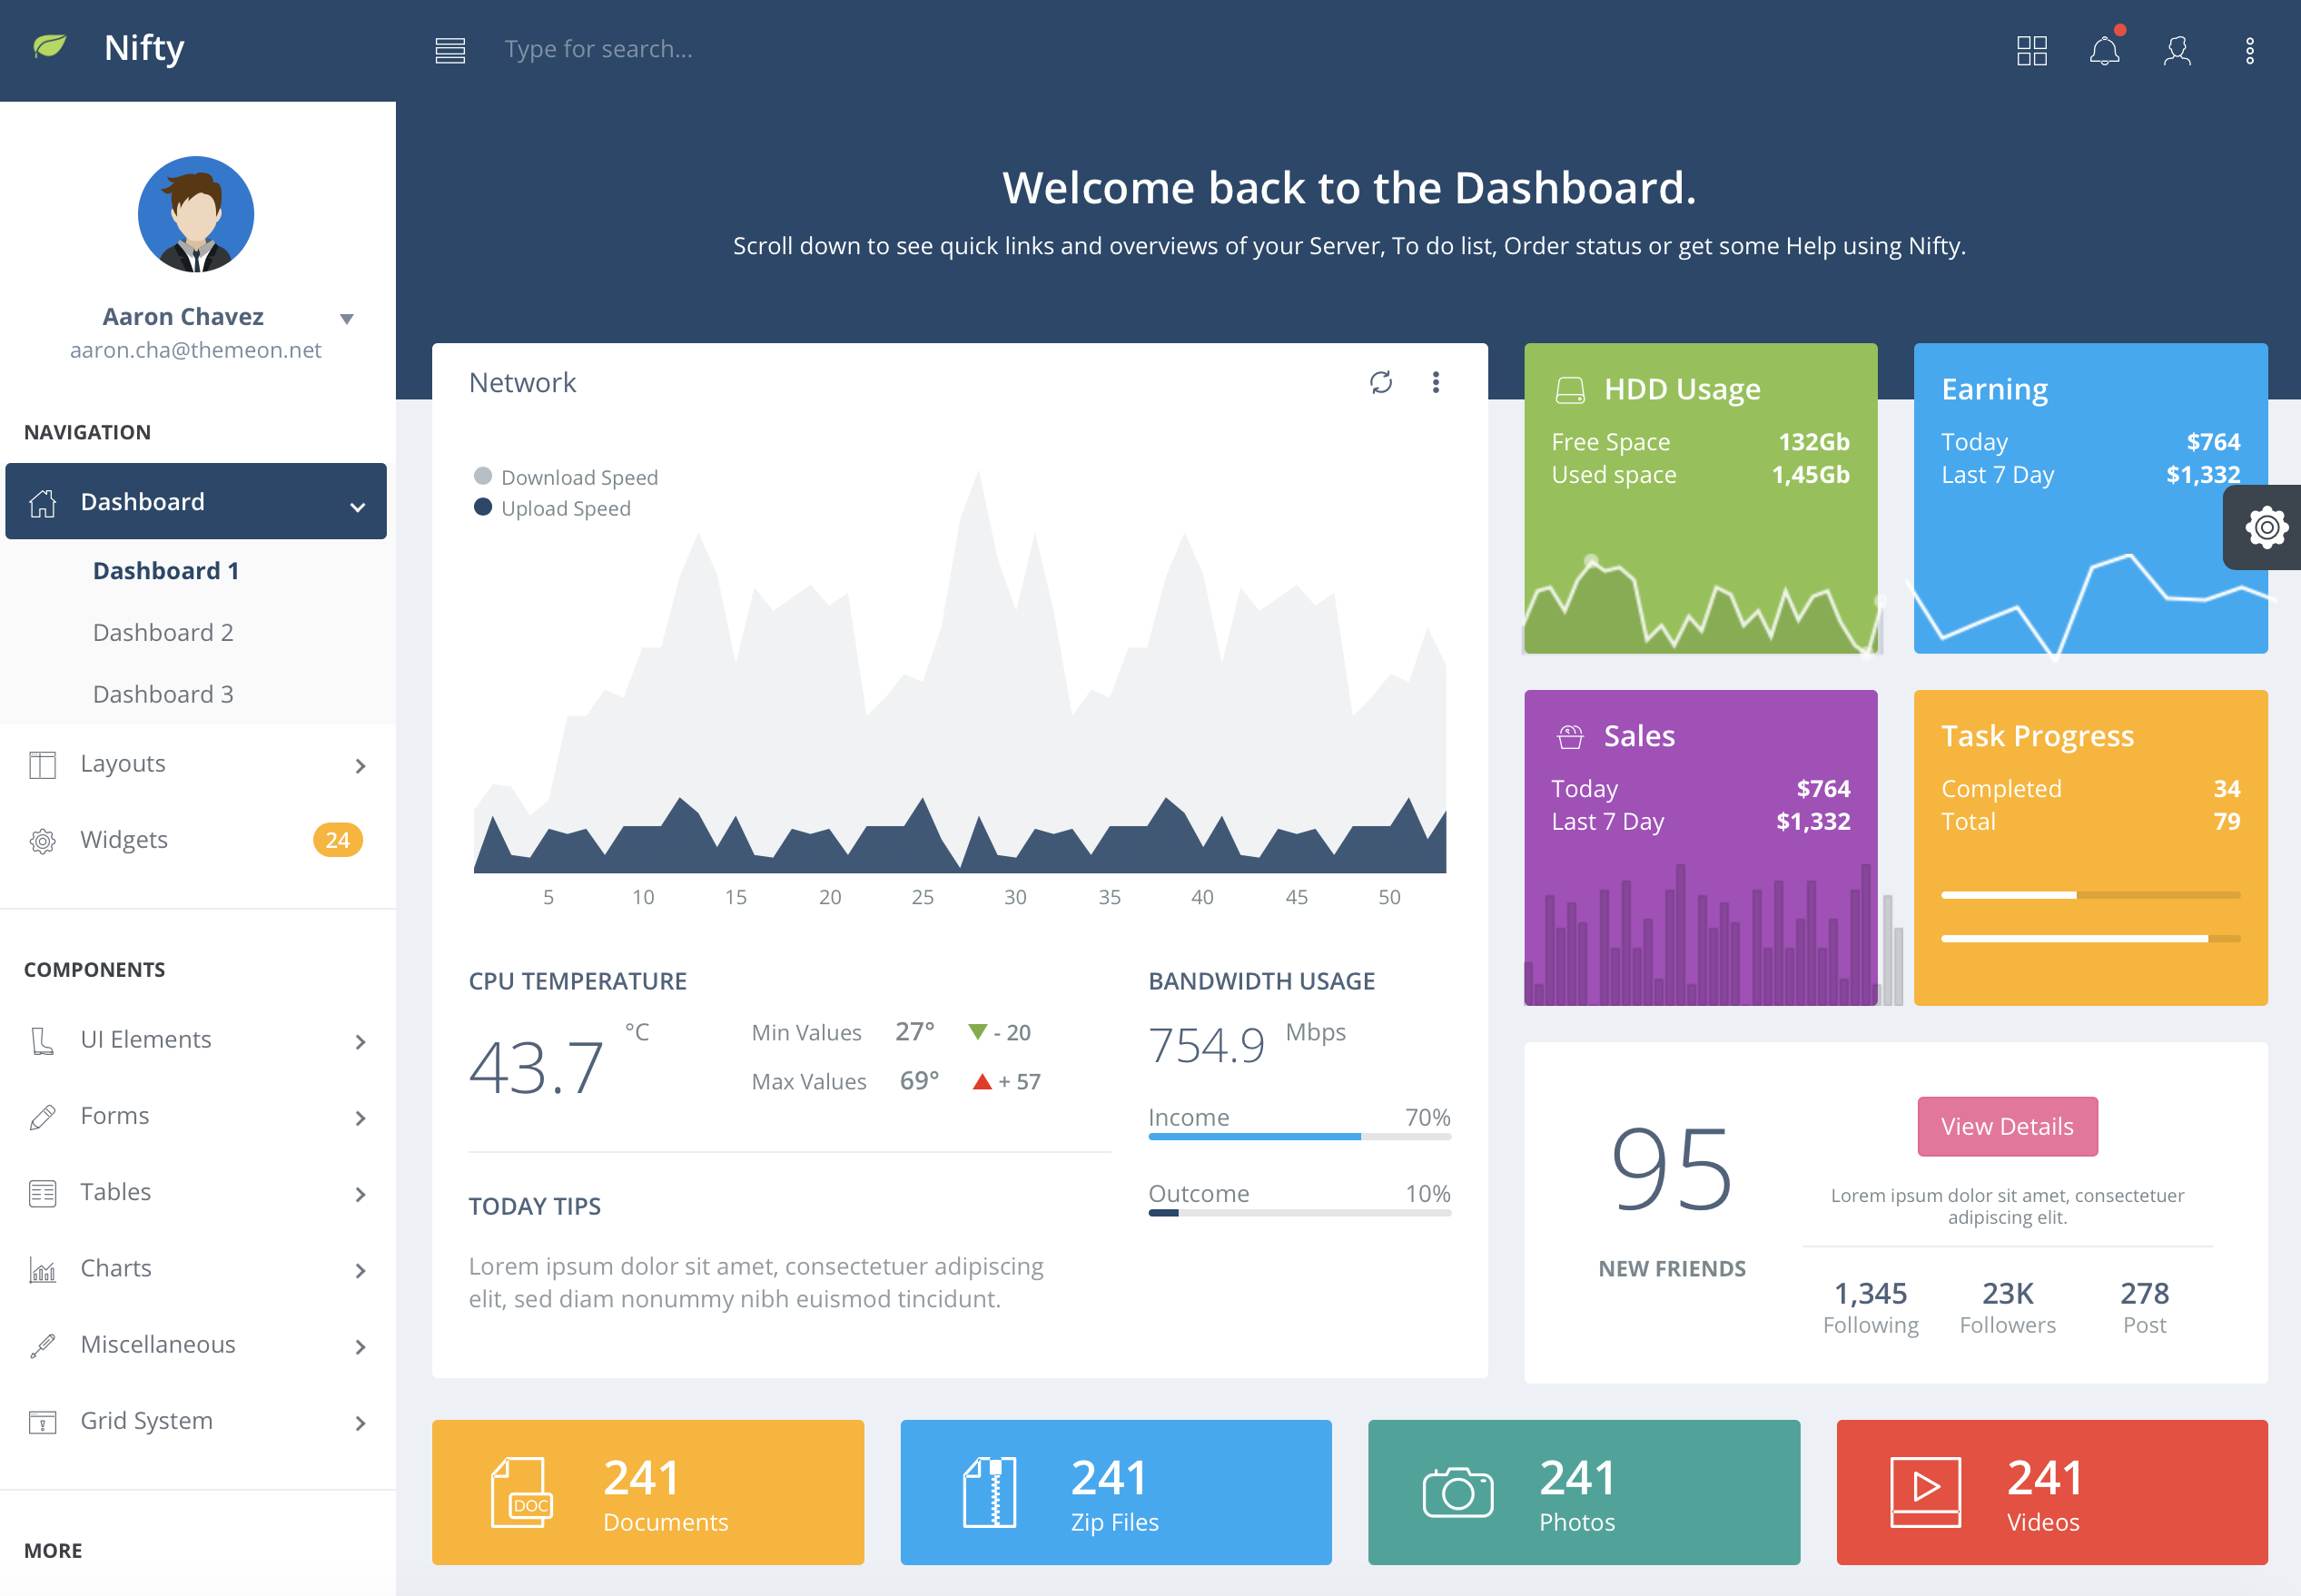
Shiny or not Shiny?
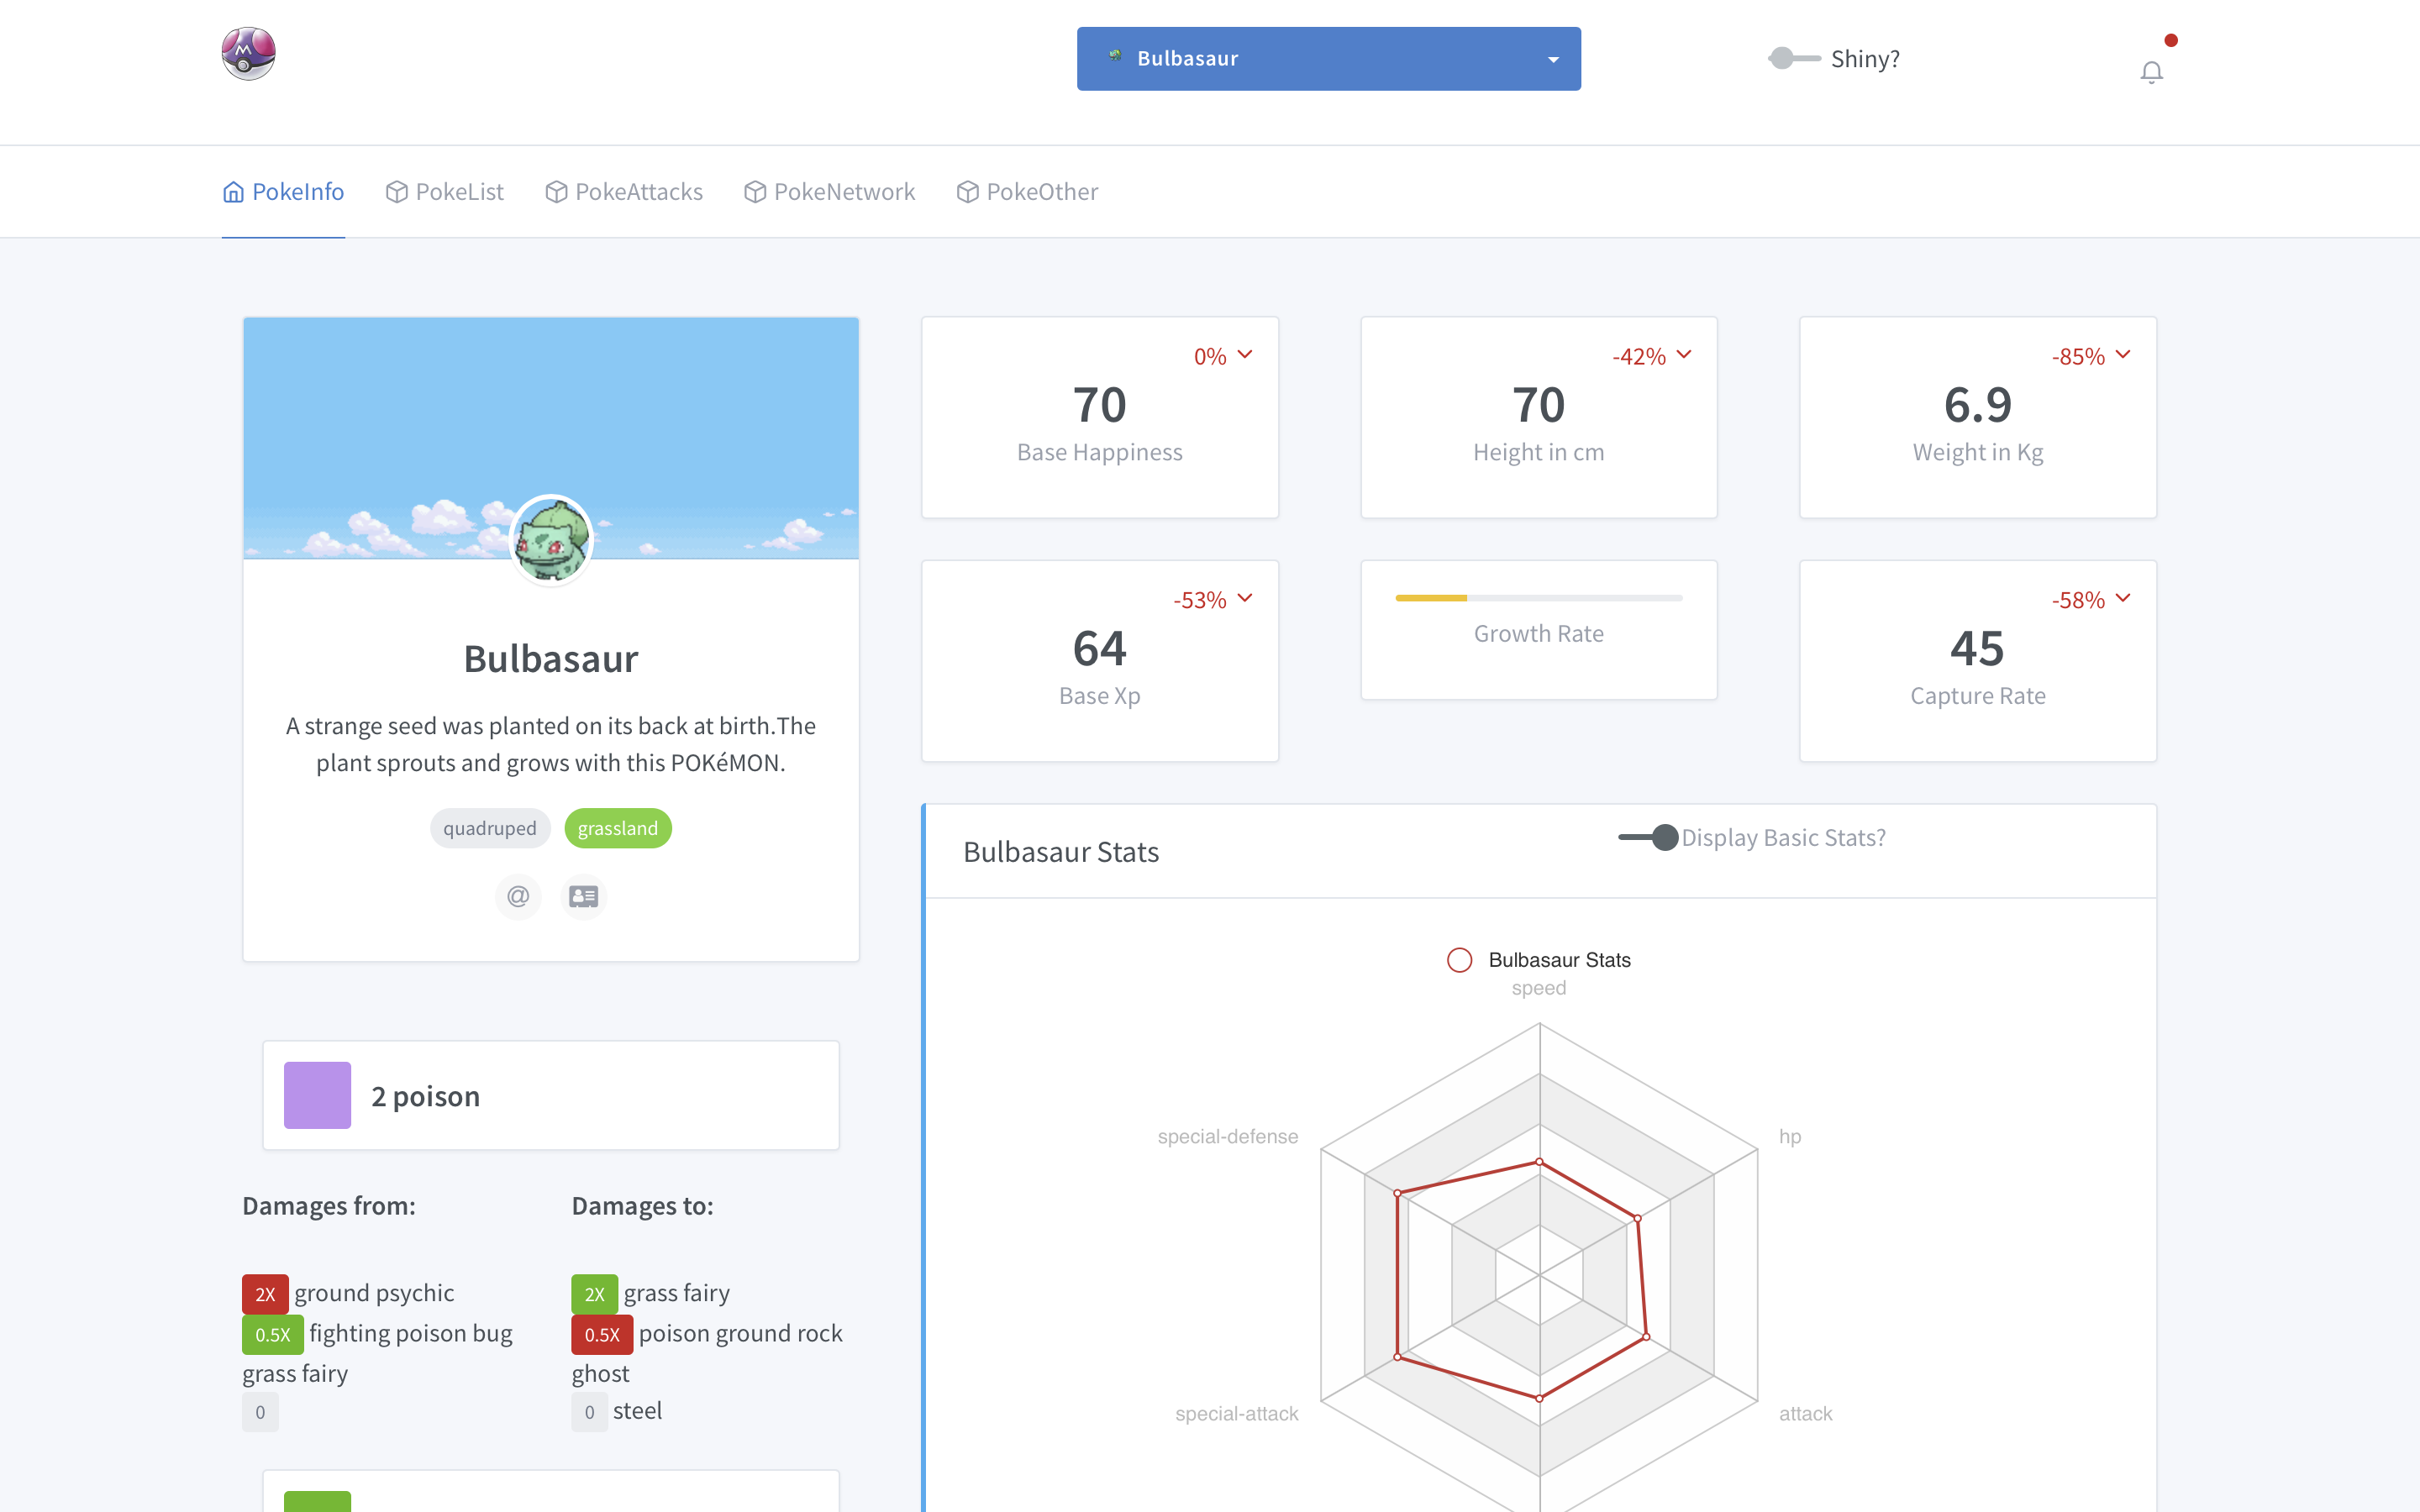
Shiny or not Shiny?
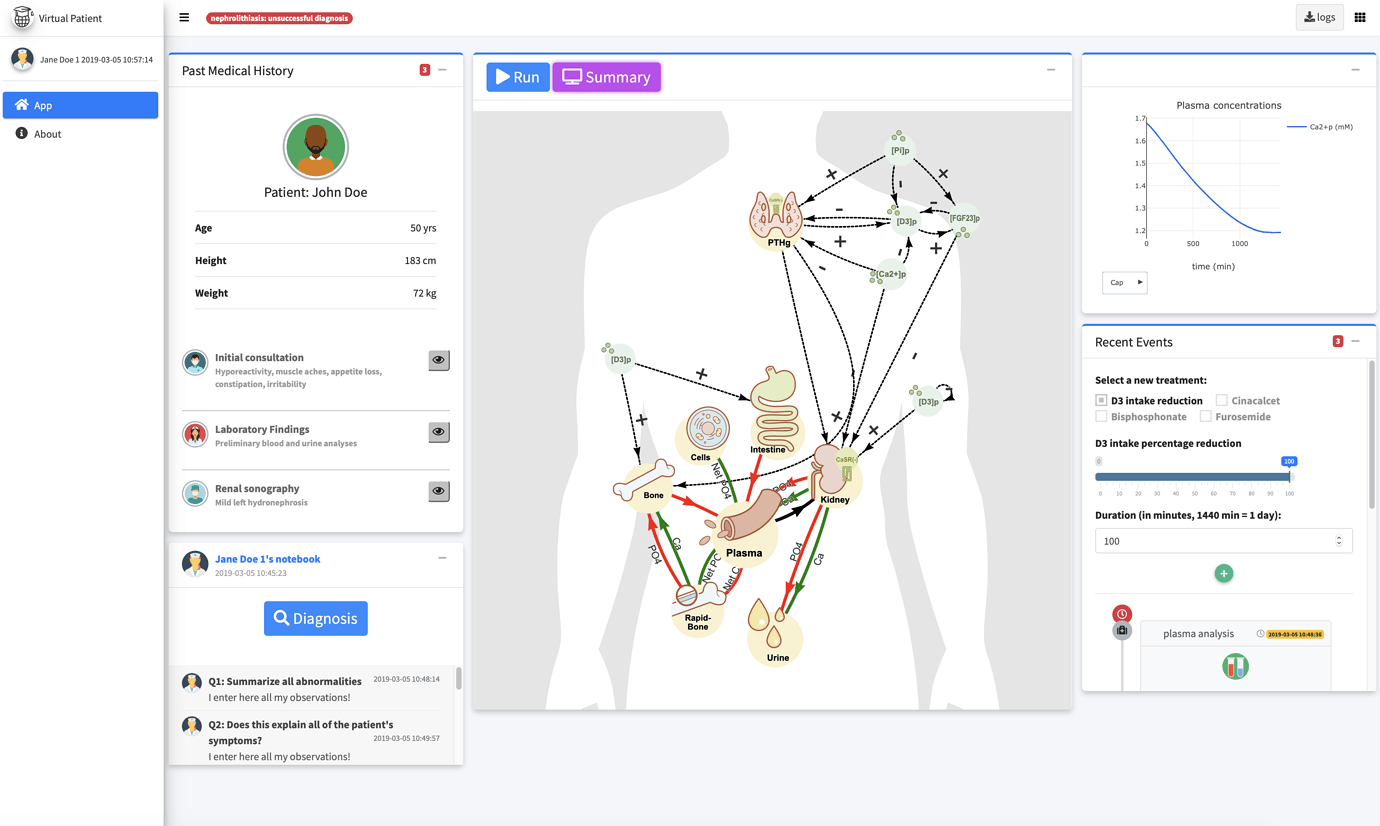
Shiny or not Shiny?
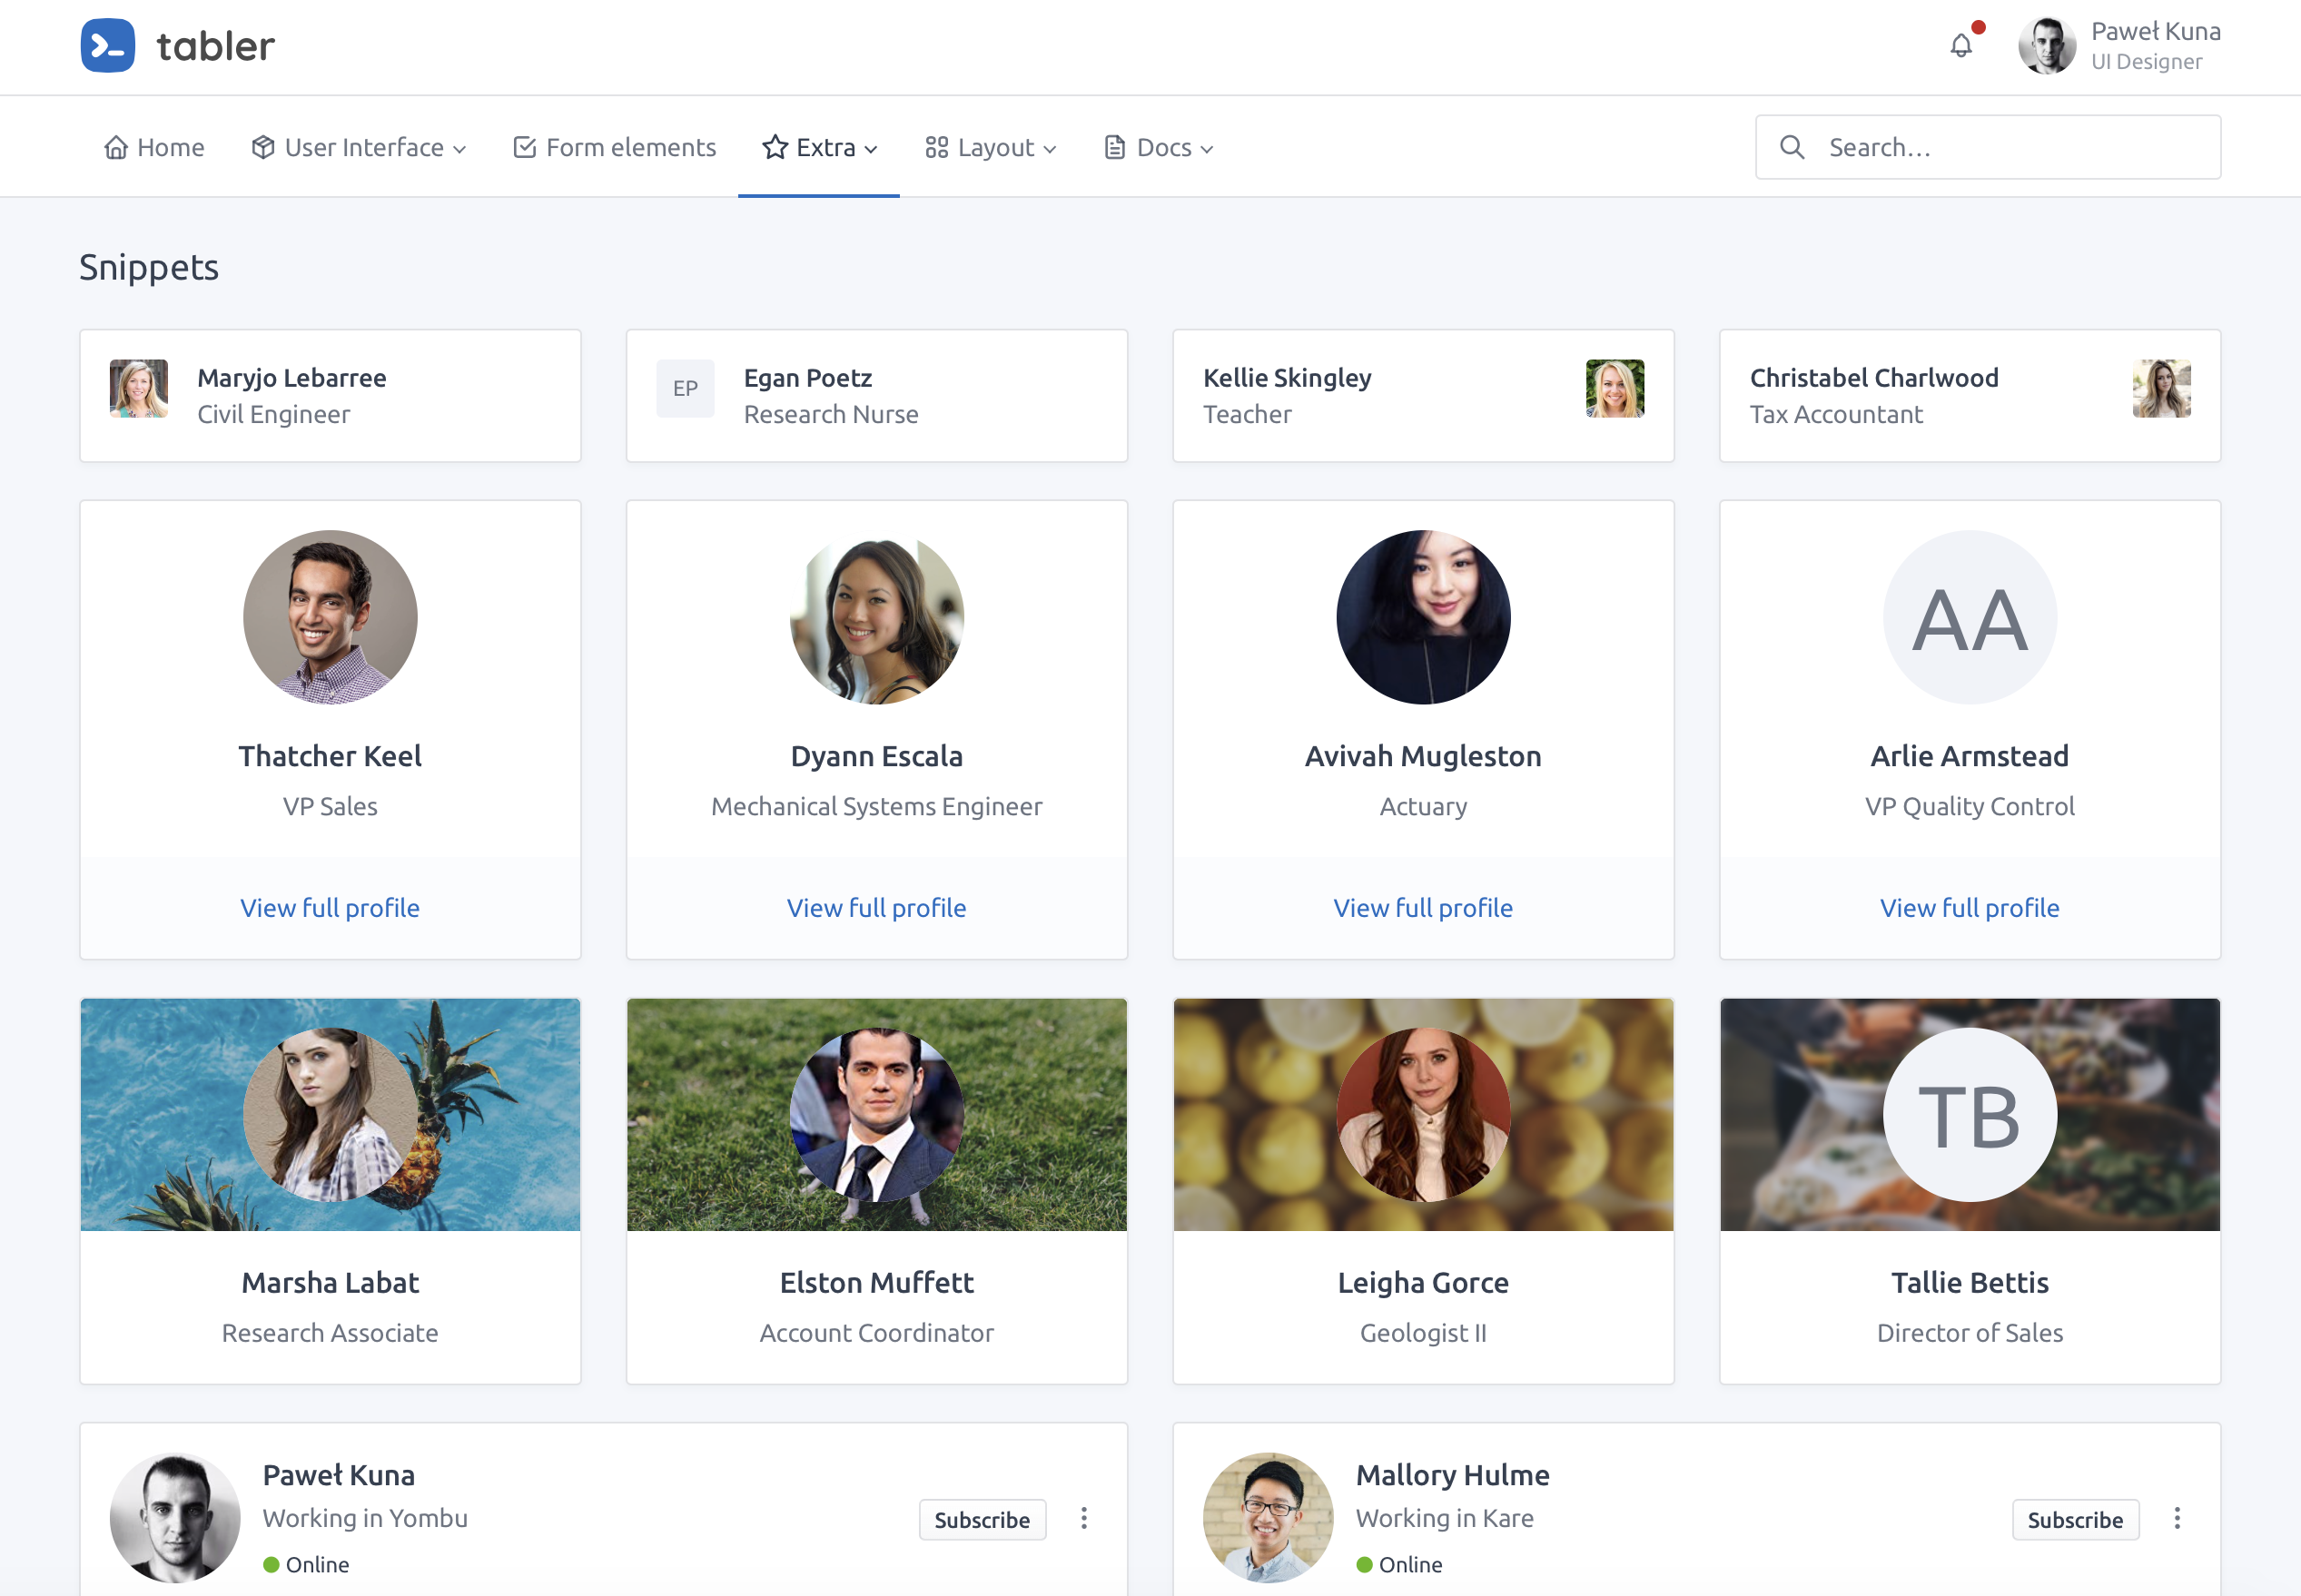
How do we transition from
"Iris k-means clustering" to a
more advanced user interface?
Workshop Agenda
-
01. Shiny: under the hood
How are tags created?
Introduction to HTML, CSS and JavaScript for Shiny
How does shiny handle inputs?
-
02. Case Study
How to create a template from A to Z?
-
03. tidymodules (1h)
OOP
Namespace
Communication
Inheritance & Session
-
04. Go further
How to validate, test template elements? How to improve interactivity?
Part 1: Shiny, under the hood
Chapter 1: What's behind a shiny app?
A. Shiny generates HTML from R
Open the shiny_intro.Rmd and complete exercise 1.
B. Shiny dependencies
Open the shiny_intro.Rmd and complete exercise 2.
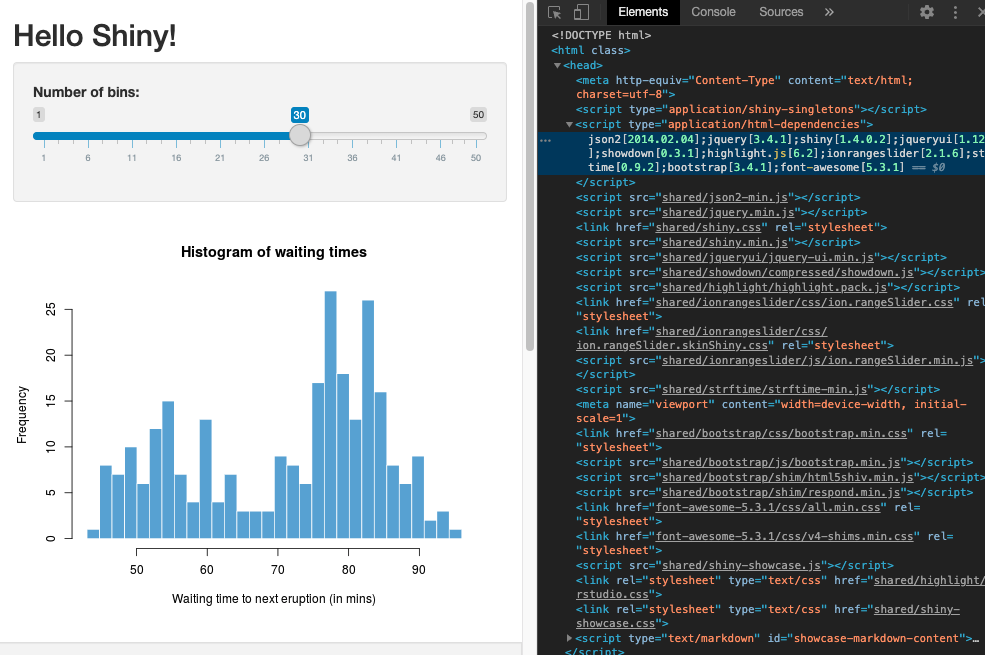
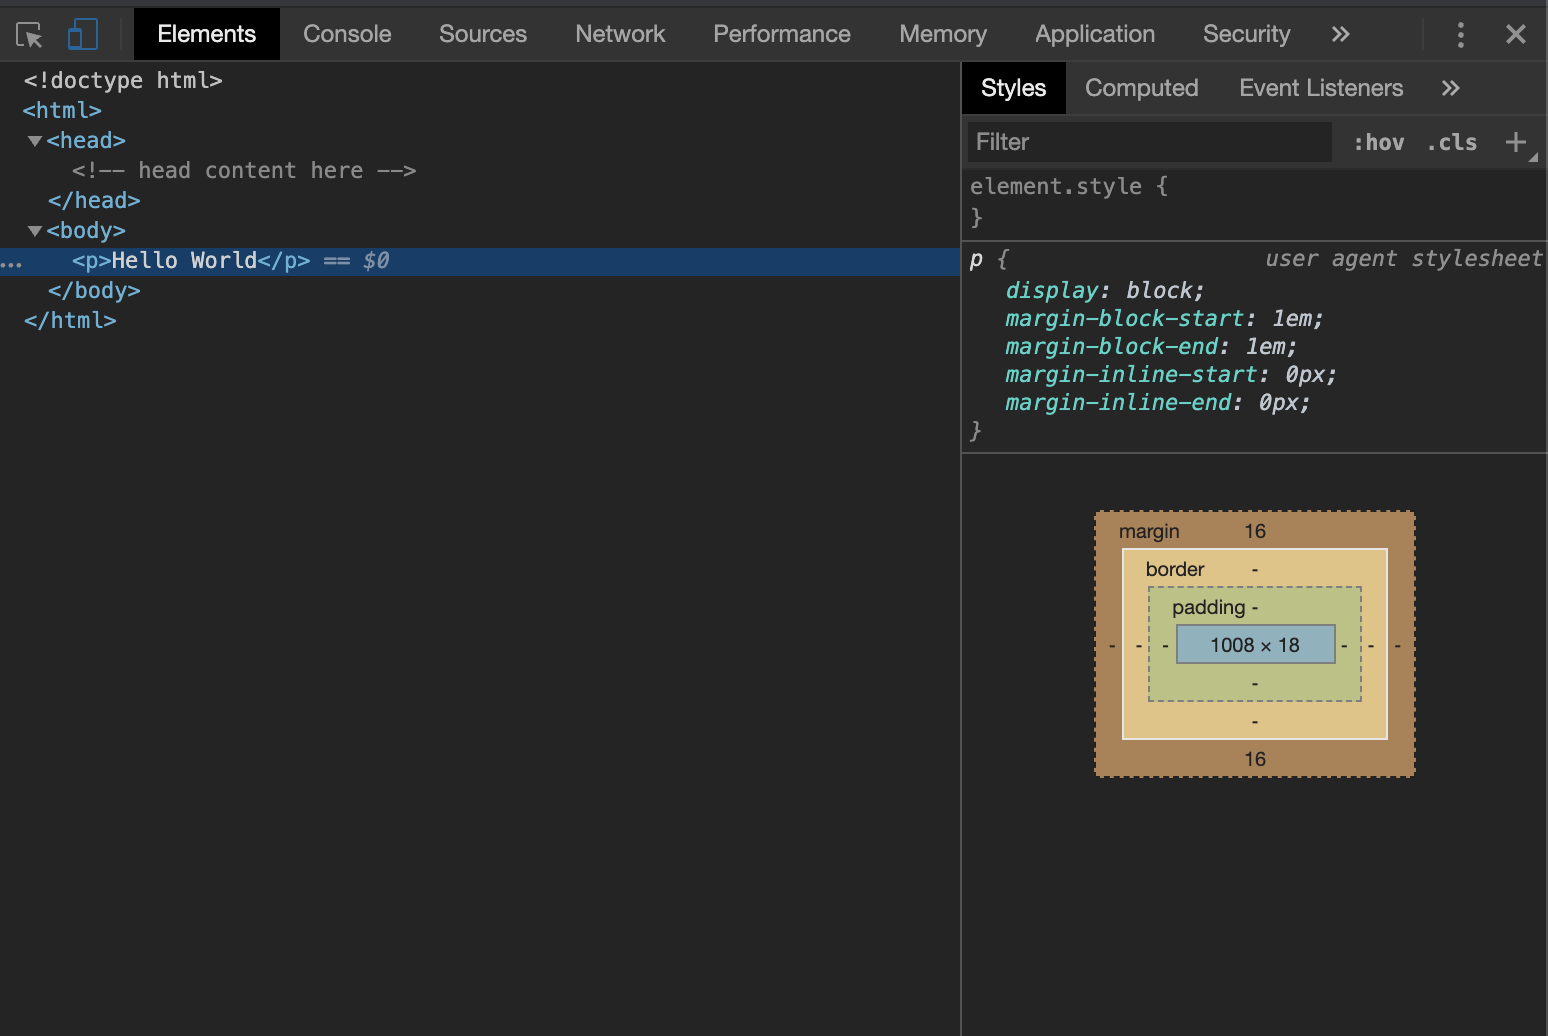
C. A Quick introduction to HTML

C.1 HTML tags

C.2 HTML attributes

C.3 The document object model (DOM)
Chapter 2: Manage web dependencies with {htmltools}
A. Include CSS and JS
It works but this approach is not portable!

B. Creating web dependencies

C. Attach web dependencies

D. Exercise (10 minutes)
Open htmltools_deps.Rmd and complete exercise 1
Chapter 3: From R to HTML!
B. Tag structure

C. {htmltools}: exercise 1 (5 minutes)
Open htmltools_HTML_to_R.Rmd and proceed to exercise 1
D. Add/Replace child(ren)

E. Tips

F. {htmltools}: exercise 2 (5 minutes)
Open htmltools_HTML_to_R.Rmd and proceed to exercise 2
Part 2: Practice!
Implementation of the Tabler dashboard dark template
How do we proceed?
-
A. Import dependencies: JavaScript, CSS
-
B. Translate template elements from HTML to R
-
C. Develop custom input bindings
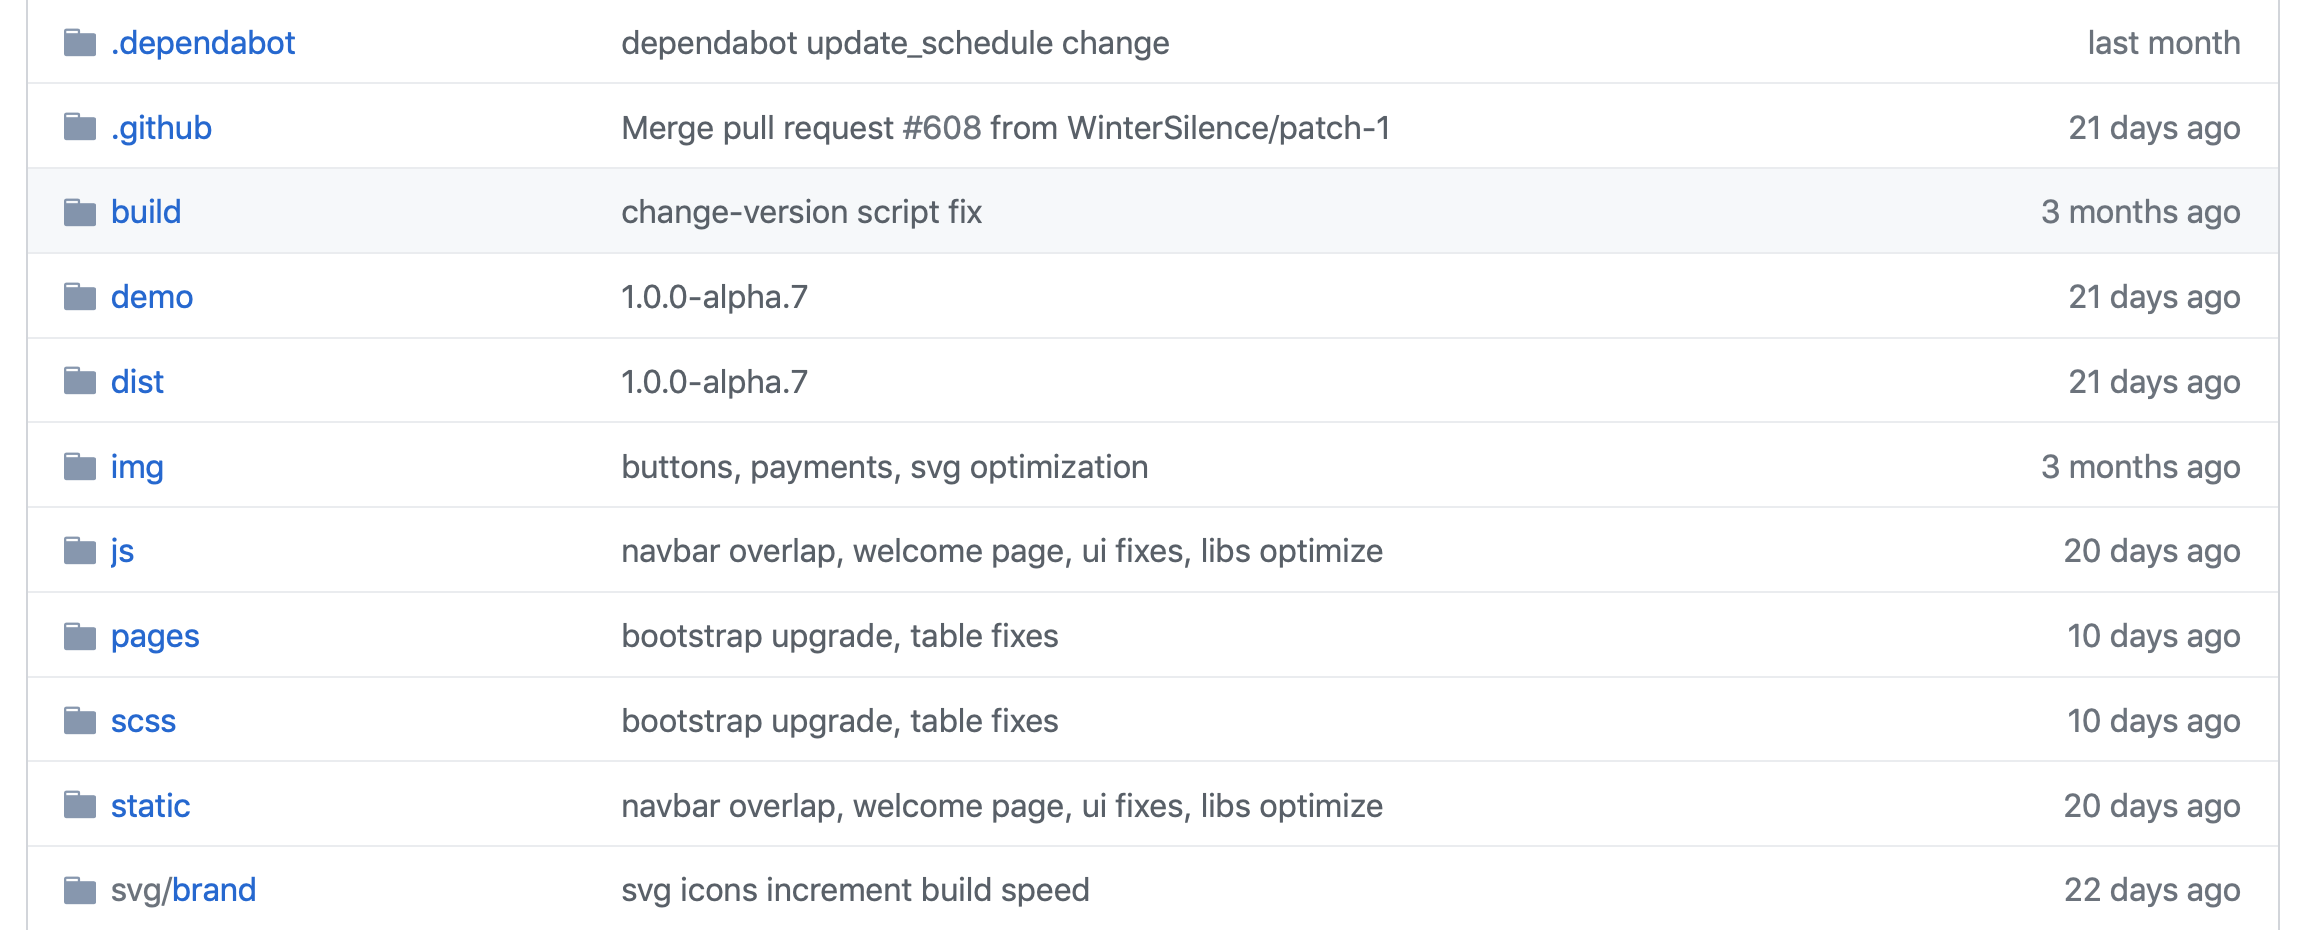
Chapter 1. Import dependencies: exercise (10 minutes)
Open tabler_dashboard.Rmd and complete step 1
Chapter 2. Create template elements: exercise (10 minutes)
Open tabler_dashboard.Rmd and complete step 2
Chapter 3. Create new inputs
A. JavaScript and jQuery
6,000
A.1 Define variables

A.2 Define objects

A.3 Objects: get and set

B. jQuery: "Write less, do more" (1)
>JQuery is a JavaScript library, not another language!

B.1 jQuery selectors (2)
B.2 jQuery: Event listeners
An event listener is a program that triggers when a given event occurs.


B.3 jQuery: exercise (10 minutes)
Open the intro_to_jquery.Rmd and complete all exercises
C. Input binding structure (1)
An input binding tells how the input should behave.

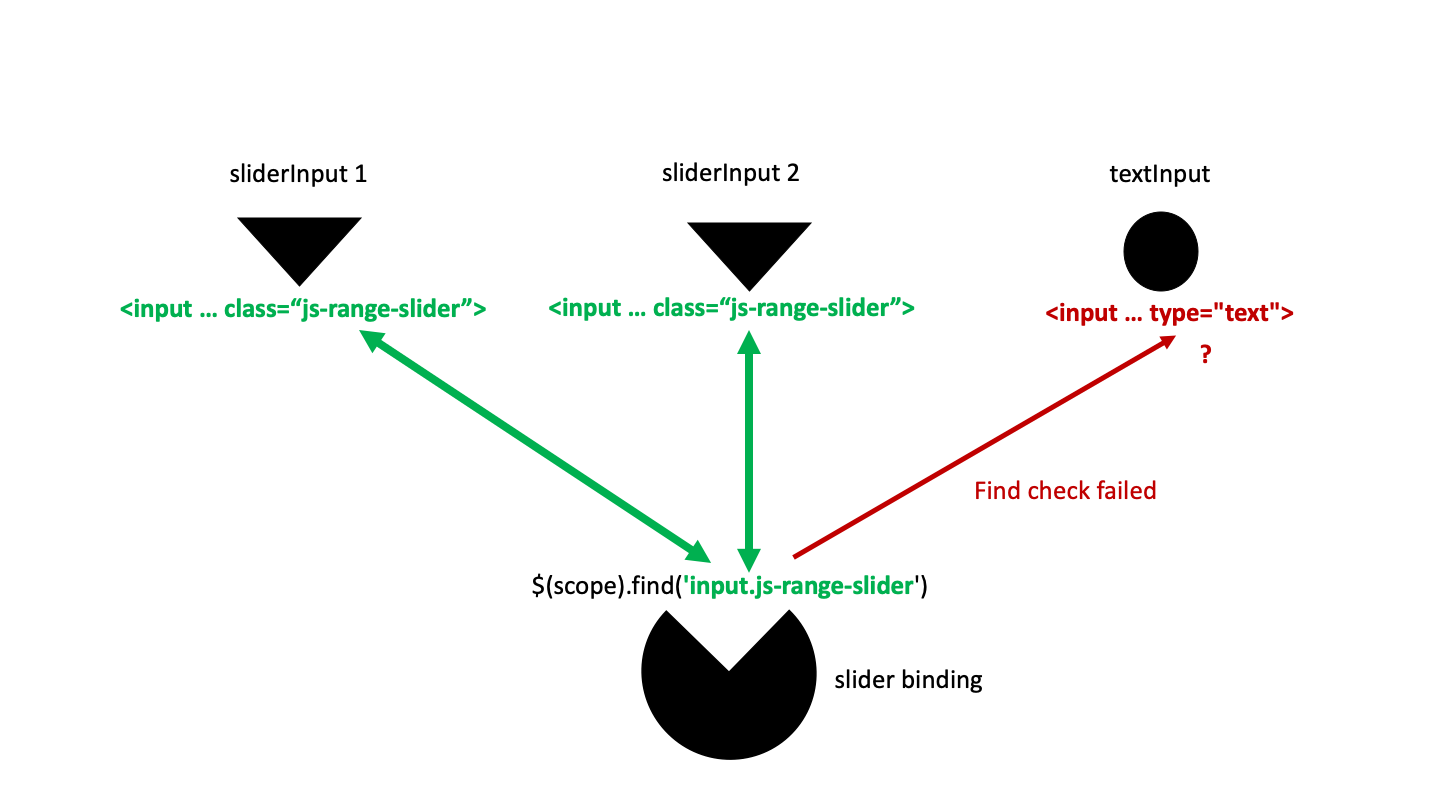
C. About Shiny inputs: find (2)
C. Exercise (30 minutes) (3)
Open tabler_dashboard.Rmd complete step 3
C. Conclusion (4)
You may find more elements in the upcoming Oustanding User Interfaces for Shiny book
Part 3: Introduction to {tidymodules}
Chapter 1: Quick introduction to OOP and our first {tm} module
A simple R6 Class

A simple {tm} module

A. Learn R, in R.
Open the first lesson from the class "introduction to tidymodules"
See script in folder 3_tidymodules

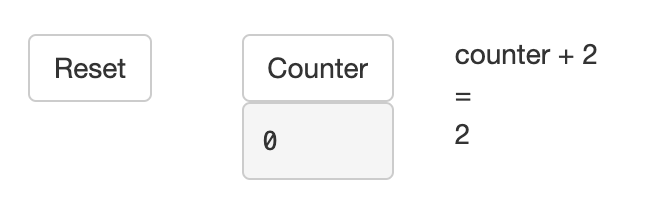
B. Exercise : Let's make a counter.
We will convert an existing shiny module to {tm} with some adjustments
https://shiny.rstudio.com/articles/modules.html
Chapter 2: Namespace management
Optional namespace!
Chapter 3: Module orchestration made easy!
Do it with pipes!

The fourth example !
Chapter 4:
Reducing code with Inheritance
Chapter 5:
User sessions
Part 4: Improve
A. Validate and test
-
A. Don't trust end-users: validate input parameters
-
B. Secure for future updates: write unit tests to reduce your mental load (when it's time for a breaking change)
B. Exercise (15 minutes)
Open tabler_dashboard.Rmd complete step 4
C. Enhance interactivity: R -> JS communication
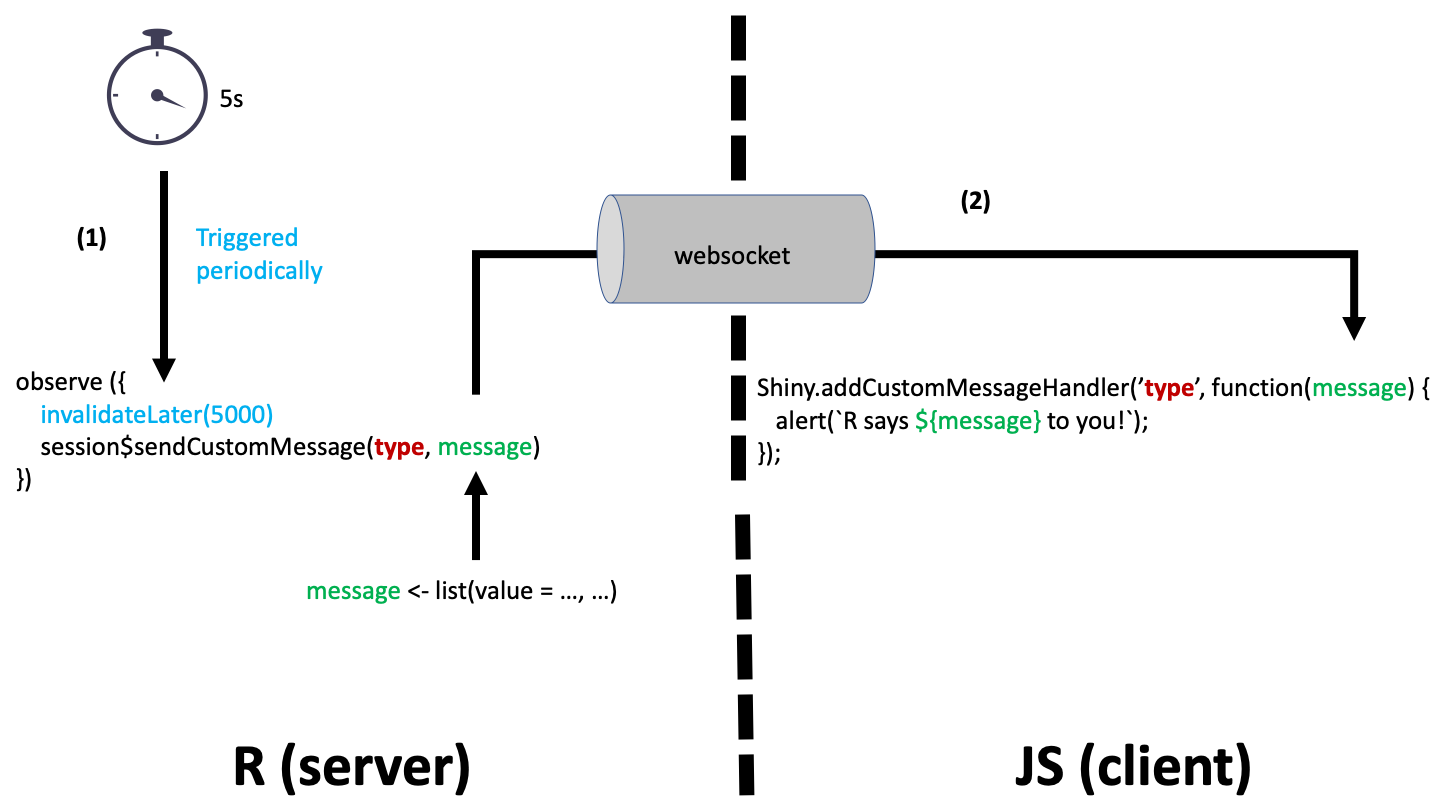
C. Enhance interactivity: toasts
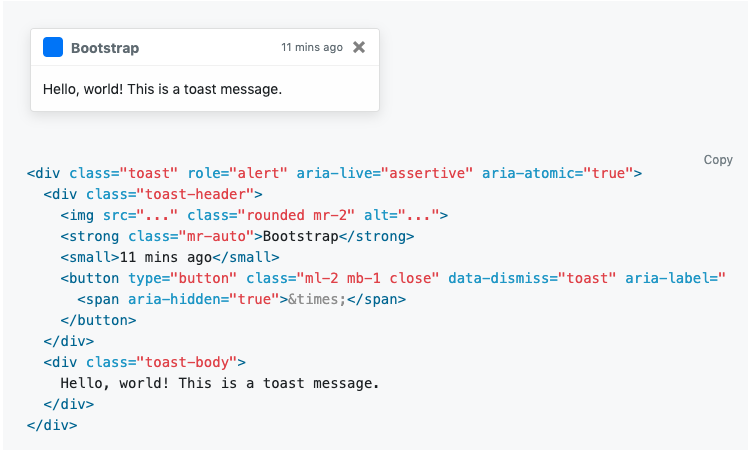
C. Toasts JS API
-
A. Create a toast: $(selector).toast(options). Options is a JSON
-
B. Show it: .toast('show')
-
C. More infos here
